Editing still images
Inserting date
You can insert a date stamp into still images.
You can specify the display format, color, and position.
-
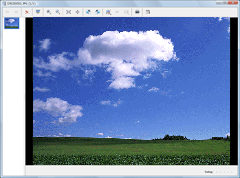
In the main window, double-click the still image you want to edit to display it in the view image window.

-
Click
 at the top of the window, select [Insert Date].
The inserting date window is displayed.
 -
Select [Display format], [Color], and [Position], and click [OK].
A date stamp is superimposed on the still images.
-
Click
 at the top of the window to save the corrected still image.
Click the
 and the save menu appears. To overwrite the original image file, select [Save] from the save menu. To save the corrected image as a new image file with a new name, select [Save as] from the save menu.
 Notes
Notes
- You cannot edit Multi Burst images or RAW mode images.
- If you edit a still image which contains Voice, the editing is not reflected on the image displayed during playback.
 Hint
Hint
- Click
 to return the image to its original condition.
|
Copyright 2008 Sony Corporation
|
P0206-01-US
|
