 Notice
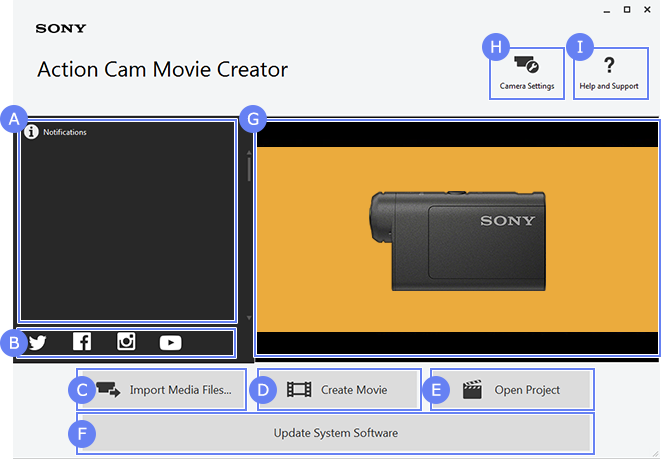
You can view notifications from Sony in a timely manner
(A network connection is required)
 Link to Action Cam channel and fan page
Here you can view videos and related information recorded with Action Cam
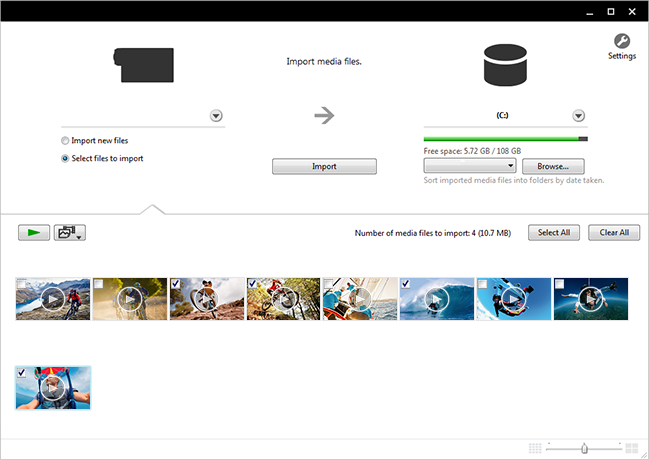
 Import Images
You can import photos and videos stored in your camera
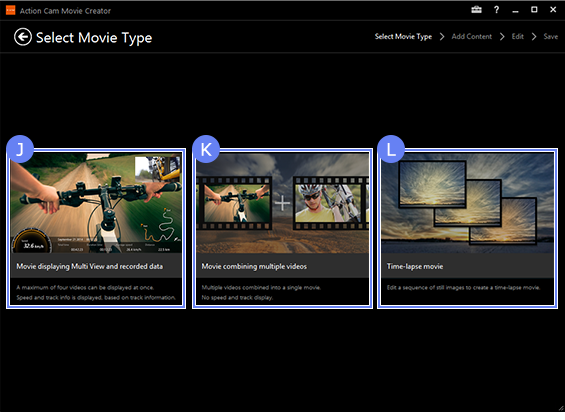
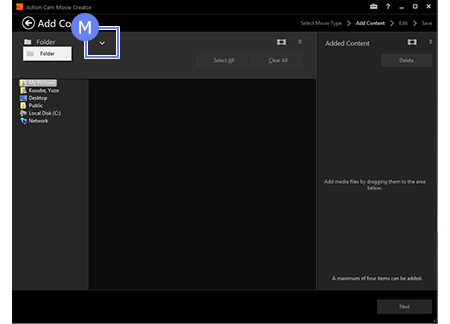
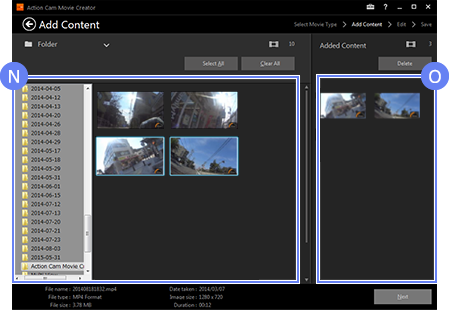
 Create Movie
Easily create impressive videos
 Open Project
Open a previously saved project
 Update system software
Update the system software of Action Cam
(The button will only appear if an update is available)
 Sony's Action Cam Official Channel
Enjoy various videos
(A network connection is required)
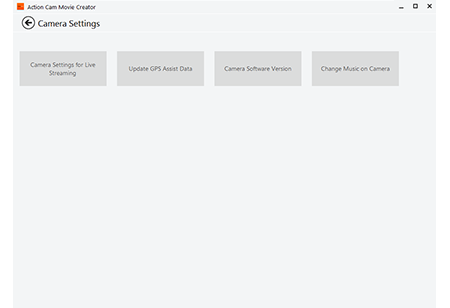
 Camera settings
Configure settings to perform streaming on your Action Cam
 Help and support
View the user guide and register your camera